Quickstart: Write a smart contract in Rust using Stylus
Stylus is currently tagged as an alpha release. The code has not been audited, and should not be used in production scenarios. This documentation is currently in public preview.
To provide feedback, click the Request an update button at the top of this document, join the Arbitrum Discord, or reach out to our team directly by completing this form.
Prerequisites
Rust toolchain
Follow the instructions on Rust Lang’s installation page to get a full Rust toolchain installed on your system. Make sure after installation that you have access to the programs rustup, rustc, and cargo from your preferred command line terminal (programs should be added to your system’s PATH, more instructions available on Rust’s website)
VS Code
We recommend VSCode as the IDE of choice for developing Stylus contracts for its excellent Rust support. See code.visualstudio.com to install. Feel free to use another text editor or IDE if you’re comfortable with those.
Some helpful VS Code extensions for Rust development:
Testnet ETH for deployment
You’ll need some testnet ETH for deploying your Rust contract for live testing. Explained below in further detail.
Developer wallet / account
When deploying on and interacting with a testnet chain, it’s important to use a fresh wallet that does not contain any real assets. You’ll often be including private keys as CLI arguments to execute transactions programmatically, so avoid using personal accounts for development.
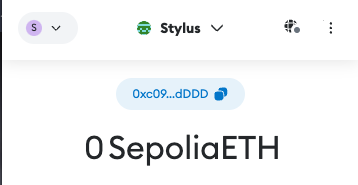
If you’re using MetaMask, simply click the dropdown at the top middle of the plugin and then click “Add Account” to create a fresh account. It can be helpful to label the account as a dev wallet or “Stylus” for this purpose. You’ll need this newly created account’s private key (as well as some Sepolia ETH) for deploying a smart contract. Follow the instructions on MetaMask’s website to obtain your key.

Never share your “secret recovery phrase” with anyone. Never enter it anywhere. A private key is valid for an individual account only, but a secret recovery phrase can be used to gain access to ALL accounts in your wallet.
Testnet ETH
The Stylus testnet settles directly to the Arbitrum Sepolia testnet. Follow these steps to acquire testnet ETH on the Stylus testnet:
- Navigate to https://bwarelabs.com/faucets/arbitrum-stylus-testnet.
- Enter your wallet address into the text field.
- Click
Claimand optionally follow the second step to receive extra testnet tokens. - You should now have Sepolia ETH on the Stylus testnet.
For additional sources of testnet ETH, please use a faucet on Arbitrum Sepolia or Ethereum Sepolia:
https://faucet.quicknode.com/arbitrum/sepolia
https://sepolia-faucet.pk910.de/
Creating a Stylus project

cargo-stylus is our CLI tool for assisting with building, verifying, and deploying Arbitrum Stylus programs in Rust. This is available as a plugin to the standard Cargo tool used for developing Rust programs, integrating easily into common Rust workflows. Once Rust has been installed on your system, install the Stylus CLI tool by running the following command:
RUSTFLAGS="-C link-args=-rdynamic" cargo install --force cargo-stylus
In addition, add WASM (WebAssembly) as a build target for your Rust compiler with the following command:
rustup target add wasm32-unknown-unknown
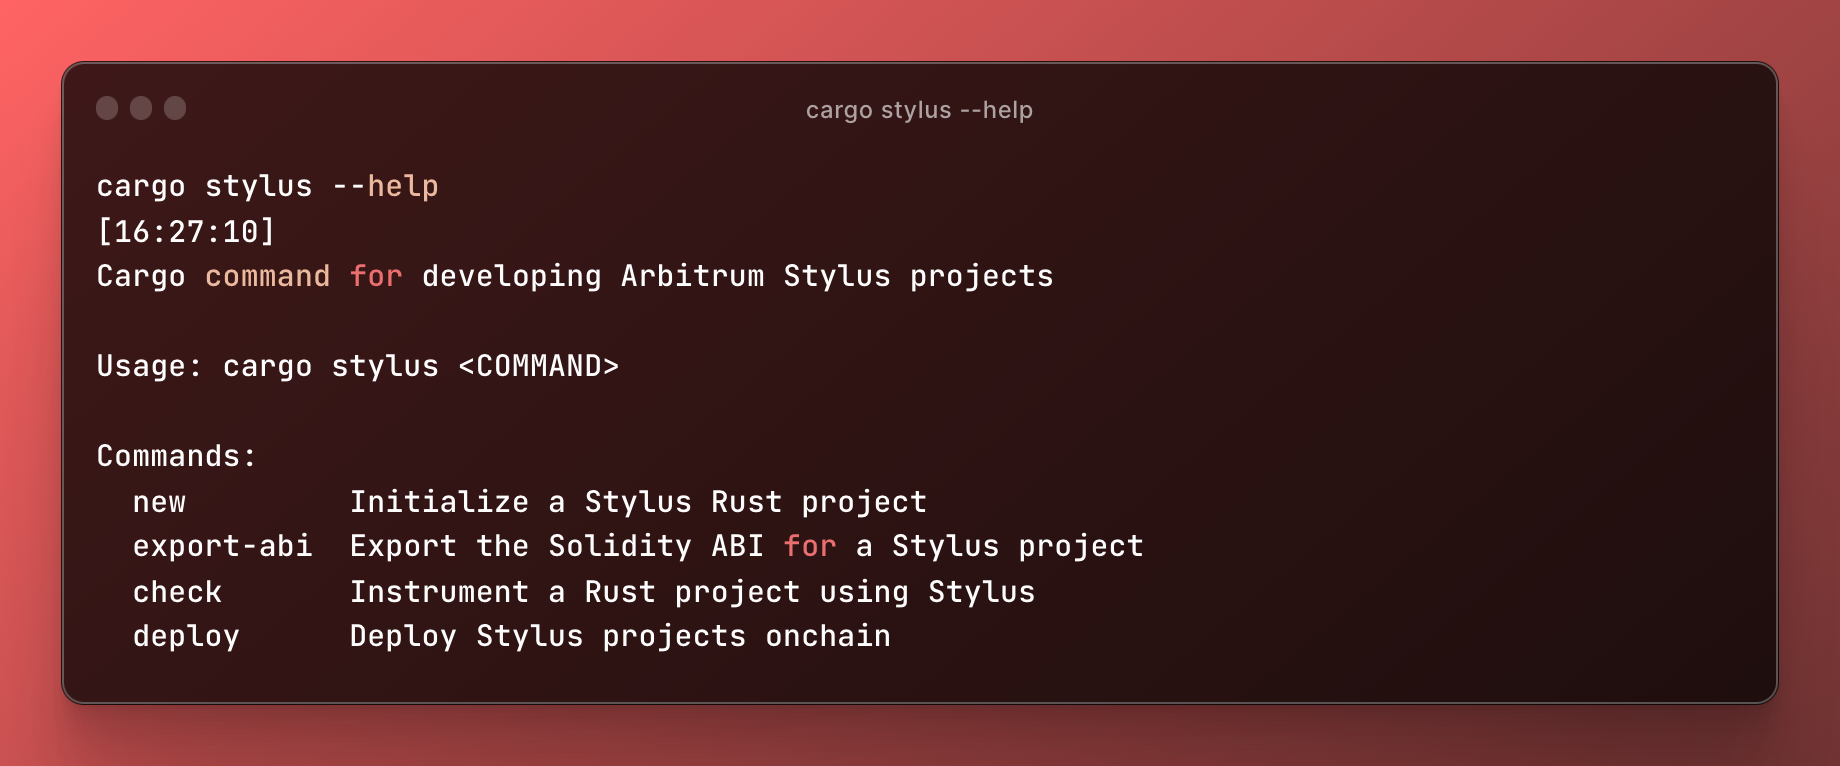
You should now have it available as a cargo command:
cargo stylus --help

Cargo command for developing Arbitrum Stylus projects

Usage:
    cargo stylus new
    cargo stylus export-abi
    cargo stylus check
    cargo stylus deploy
Overview
The cargo stylus command comes with useful commands such as new, check and deploy, and export-abi for developing and deploying Stylus programs to Arbitrum chains. Here's a common workflow:
Start a new Stylus project with
cargo stylus new <YOUR_PROJECT_NAME>
The command above clones a local copy of the stylus-hello-world starter project, which implements a Rust version of the Solidity Counter smart contract example. See the README of stylus-hello-world for more details. Alternatively, you can use cargo stylus new --minimal <YOUR_PROJECT_NAME> to create a more barebones example with a Stylus entrypoint locally, useful for projects that don’t need all the Solidity plumbing.
Then, develop your Rust program normally and take advantage of all the features the stylus-sdk has to offer.
Checking your Stylus project is valid
To check whether or not your program will successfully deploy and activate onchain, use the cargo stylus check subcommand:
cargo stylus check
This command will attempt to verify that your program can be deployed and activated onchain without requiring a transaction by specifying a JSON-RPC endpoint. See cargo stylus check --help for more options.
If the command above fails, you'll see detailed information about why your WASM will be rejected:
Reading WASM file at bad-export.wat
Compressed WASM size: 55 B
Stylus checks failed: program predeployment check failed when checking against
ARB_WASM_ADDRESS 0x0000…0071: (code: -32000, message: program activation failed: failed to parse program)

Caused by:
    binary exports reserved symbol stylus_ink_left

Location:
    prover/src/binary.rs:493:9, data: None)
To read more about what counts as valid vs. invalid user WASM programs, see VALID_WASM. If your program succeeds, you'll see the following message:
Finished release [optimized] target(s) in 1.88s
Reading WASM file at hello-stylus/target/wasm32-unknown-unknown/release/hello-stylus.wasm
Compressed WASM size: 3 KB
Program succeeded Stylus onchain activation checks with Stylus version: 1
Once you're ready to deploy your program onchain, you can use the cargo stylus deploy subcommand as follows. First, we can estimate the gas required to perform our deployment with:
cargo stylus deploy \
  --private-key-path=<PRIVKEY_FILE_PATH> \
  --estimate-gas-only
and see:
Compressed WASM size: 3 KB
Deploying program to address 0x457b1ba688e9854bdbed2f473f7510c476a3da09
Estimated gas: 12756792
Next, attempt an actual deployment. Two transactions will be sent onchain.
cargo stylus deploy \
  --private-key-path=<PRIVKEY_FILE_PATH>
and see:
Compressed WASM size: 3 KB
Deploying program to address 0x457b1ba688e9854bdbed2f473f7510c476a3da09
Estimated gas: 12756792
Submitting tx...
Confirmed tx 0x42db…7311, gas used 11657164
Activating program at address 0x457b1ba688e9854bdbed2f473f7510c476a3da09
Estimated gas: 14251759
Submitting tx...
Confirmed tx 0x0bdb…3307, gas used 14204908
More options exist for sending and outputting your transaction data. See cargo stylus deploy --help for more details.
Deploying non-Rust WASM projects
The Stylus CLI tool can also deploy non-Rust, WASM projects to Stylus by specifying the WASM file directly with the --wasm-file-path flag to any of the cargo stylus commands.
Even WebAssembly Text (WAT) files are supported. This means projects that are just individual WASM files can be deployed onchain without needing to have been compiled by Rust. WASMs produced by other languages, such as C, can be used with the tool this way.
For example:
(module
    (type $t0 (func (param i32) (result i32)))
    (func $add_one (export "add_one") (type $t0) (param $p0 i32) (result i32)
        get_local $p0
        i32.const 1
        i32.add))
can be saved as add.wat and used as cargo stylus check --wasm-file-path=add.wat or cargo stylus deploy --priv-key-path=<YOUR PRIV KEY FILE PATH> --wasm-file-path=add.wat
Exporting Solidity ABIs
Stylus Rust projects that use the stylus-sdk have the option of exporting Solidity ABIs. The cargo stylus tool also makes this easy with the export-abi command:
cargo stylus export-abi